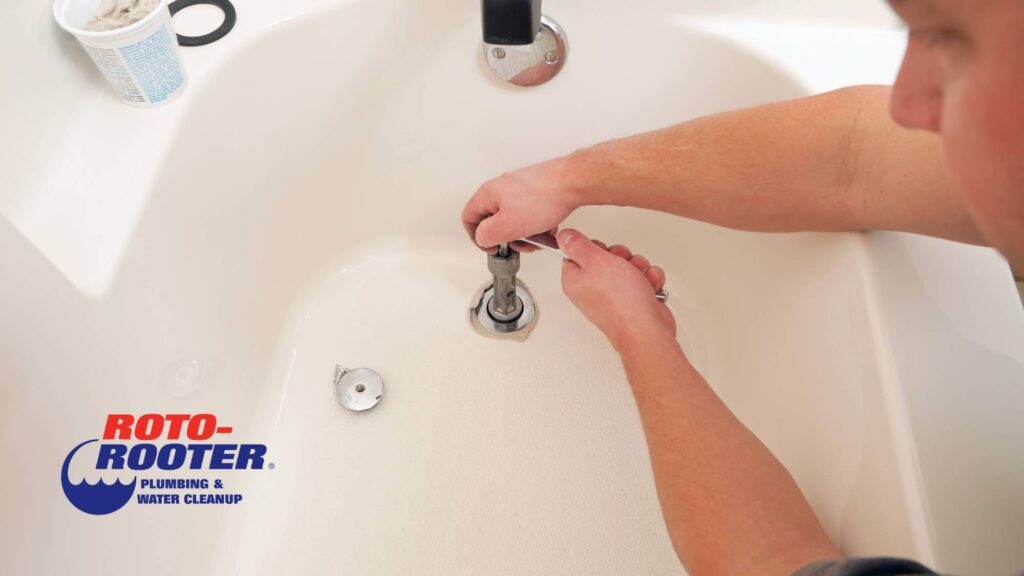
The first step is to remove the old drain. To do so, you’ll need a wrench and a pair of channel locks or slip-joint pliers.
First, use the wrench to loosen the screws holding the drain in place. Once they’re loose enough, pull out the stopper assembly by hand, and then pull out any hair or soap scum that may be blocking the trap (this can easily be done with a screwdriver). Then unscrew and remove the existing drain from the inside of the tub.
Afterward, clean up any debris or gunk left behind by rinsing everything with water and wiping it with paper towels. Then, place a new silicone gasket around where you plan on reattaching this piece back into place within the tub (make sure not to get any silicone on either side!).
Remove the screws holding the drain in place and pull out the stopper assembly. Then, pull out the drain.
- Use a screwdriver to remove the screws holding your drain in place.
- Use pliers to pull out the stopper assembly if it is still connected, then disconnect it from the water supply line and any other pipes that may be attached to it.
- Remove any debris blocking your trap with a shop vacuum or other cleaning tools (such as an old rag), then clean all loose dirt and debris around the area of your drain.
You may need to clean out the trap with a plumber’s snake (or “snake”) if you still have debris in it. If the drain is clogged with hair, you can use a putty knife to remove it. To remove soap scum, use an abrasive material like baking soda or vinegar.
Use a special wrench to remove the trap from the drain opening. Be sure to put down a bucket or container to catch any water that drips out.
Make sure that you protect your floors and carpets from any drips, so put down a bucket or container to catch any water that drips out. The next step is to remove the trap from inside the drain opening. To do this, you’ll need a special wrench designed specifically for this purpose. Be sure not to damage any pipes while removing the trap!
Install a new trap into the pipe. The new trap is now installed over the pipe, and you can tighten it to make sure that it stays in place. To do so, use a wrench and tighten the trap until it is snug but not over-tightened.
Use the plumber’s putty to mount the new drain into the hole in the tub, then attach the overflow plate by screwing it back into place over the hole on the tub spout. You may need to use a screwdriver to gently pry off any caulking that’s still attached to the bathtub before installing the new overflow plate.
Replace the trim and make sure there are no leaks.
Now that you have the new drain in place and have connected it to your existing drain pipe, you should make sure that everything is sealed. First, check that the body of the new tub drain is slightly recessed below the surface of the bathtub. If it sticks up above this level, the trim may not fit correctly. Next, make sure that all connections are secure between pipes and fittings. Finally, check for leaks around all connections using soapy water or dye tablets (available at hardware stores).
If you’re looking to save time, money and energy with a do-it-yourself project, replacing your bathtub drain is the way to go. It’s an easy home project if you have the right tools and know-how! We hope our guide will help give you confidence in doing this job yourself. If not, we suggest you call our team of experts at Roto-Rooter today!