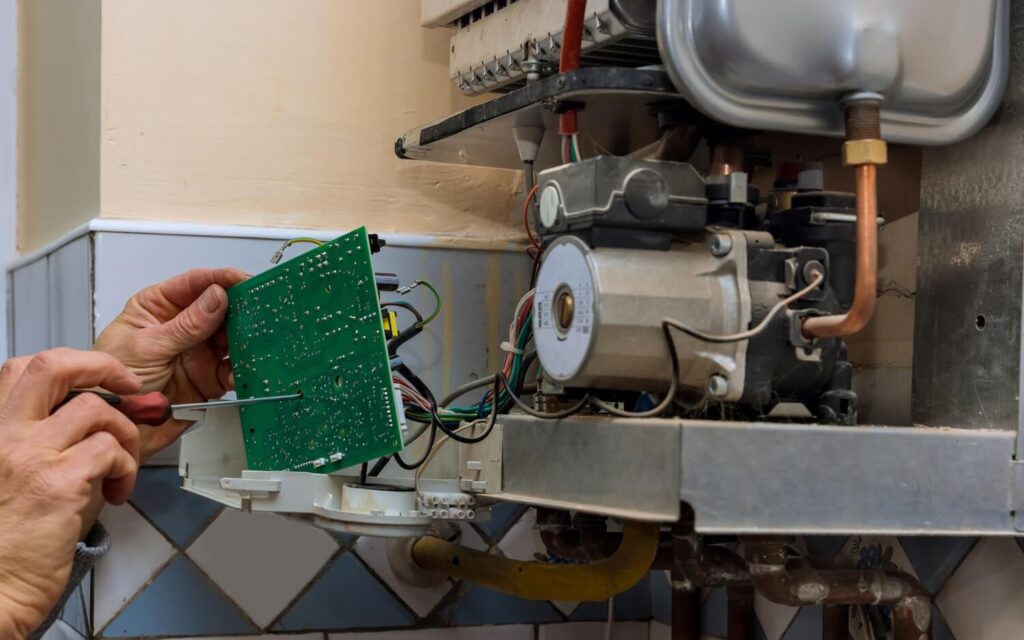
Wiring Electric Hot Water Heater: Step-by-Step Guide
Wiring, installing, or upgrading an electric hot water heater may be complex. However, you can complete this work securely and effectively if you follow the proper instructions and take the necessary safety measures. Thanks to our in-depth tutorial, which will take you step-by-step through the wiring of an electric hot water heater, you will quickly have hot water flowing.
Step 1: Preparing for Installation
Gather Equipment and Supplies:
Ensure you have all the equipment and supplies needed before starting to wire your water heater. The instructions provided by the manufacturer for the particular kind of water heater you own, cable clamps, electrical tape, wire cutters, wire strippers, and voltage testers are usually among them.
Shut Off the Power:
To prevent electrical mishaps, make sure you have also shut off the water heater’s power source at the circuit breaker.
Step 2: Understanding the Wiring Diagram
Review the Manufacturer’s Diagram:
Before connecting the wires, you must understand the wiring of the water heater diagram. The manufacturer supplies it and acts as a guide for correct installation. Scrutinize the figure, noting the parts and the terminals corresponding to them. Become familiar with the labels and color coding that are utilized. Doing this ensures the connections are made correctly and avoids any possible wiring water heater mistakes. Please consult the company’s instructions or contact a qualified electrician if you are unsure or have any queries.
Step 3: Connecting the Wires
Access the Junction Box:
You may start attaching the wires when you’ve become comfortable with the hot water heater wiring schematic. The wire connections on the water heater can be accessed by first removing the cover plate from the junction box.
Connect the Power Supply Wires:
Once you’ve located the incoming power supply wires, usually labeled “L1” and “L2” on the water heater, attach them to the respective terminals. Use electrical tape to ensure the connections are tight and well-insulated before fastening them with wire nuts.
Attach the Ground Wire:
Next, attach the ground wire to the junction box’s grounding connector, typically made of bare copper or green. It is essential to guarantee the electrical system’s safety.
Step 4: Testing the Connections
Verify Voltage:
Testing the hot water heater wiring after completing all the connections is crucial to ensure everything is connected correctly.
The neutral (white) and hot (black) wires should be checked for voltage using a voltage tester. If there is no voltage, there are no electrical problems, and the connections are secure.
Inspect Connections:
Furthermore, carefully check every connection to ensure there are no exposed conductors or loose wires. Apply electrical tape and wire nuts to any slack connections before proceeding.
Step 5: Securing the Wiring
Use Cable Clamps:
After verifying that the hot water heater wiring has been fitted and tested successfully, it’s time to use cable clamps to secure the cables within the junction box. By keeping the wires away from moving elements or sharp edges within the water heater, cable clamps lessen the possibility of damage or electrical risks.
Ensure there is no extra stress or slack in any cables and that they are all neatly placed and fastened.
Step 6: Final Checks and Commissioning
Perform a Final Inspection:
Before turning the power back on, check the wiring one more time to ensure everything is working. Double-check the junction box lids, cable clamps, and connections to ensure everything is secure.
Turn the Power Back On:
After the installation is completed to your satisfaction, you may securely turn the water heater back on by turning the circuit breaker back on. When you notice any odd sounds, leaks, or other indications of a malfunction, keep an eye on the device and take quick action to fix any problems.
Common Mistakes to Avoid When Wiring a Hot Water Heater
Neglecting Safety Precautions
Another frequent error that can cause electrical problems or even fire concerns is incorrect wiring. Ensuring every wire is connected to the appropriate terminal requires close attention to the wiring diagram and manufacturer’s instructions. Other common causes of electrical issues include using the incorrect gauge of wire or incorrectly tightening connections with wire nuts.
Incorrect Wiring
Misconfigured wiring is another frequent error that may result in electrical problems or even fire risks. Ensuring every wire is connected to the appropriate terminal requires close attention to the wiring diagram and manufacturer’s instructions. Other common causes of electrical issues include using the incorrect gauge of wire or incorrectly tightening connections with wire nuts. Before turning the water heater back on, ensure all connections are secure.
Not Securing Connections Properly
Insecure or loose connections can lead to electrical arcing or overheating, a severe safety issue. Failure to correctly fasten electrical connections with terminal screws or wire nuts is one frequent error. Verify that every connection is secure, well-insulated, and without corrosion or damage. Use cable ties or electrical tape to tidy wiring security.
Overloading Circuits
Connecting many high-power appliances to one circuit might lead to a frequent error known as overloading the circuit. Due to their high electrical load, water heaters usually need dedicated circuits. Suppose the water heater is connected to a circuit that houses other large appliances like air conditioners or refrigerators. In that case, the circuit may be overloaded, and trip breakers or electrical fires may result.
Ensure Safe and Efficient Water Heater Wiring with Expert Help from Roto-Rooter
Electric water heater wiring may appear complicated, but it is safe and effective when completed with the correct information and safety measures. Following the methods in this guide and consulting the manufacturer’s instructions, you can ensure your water heater is wired correctly and prepared to provide hot water whenever needed.
Roto-Rooter Alabama provides skilled water heater setup and maintenance services to ensure efficiency and safety. Their certified plumbers provide dependable hot water solutions by carefully adhering to manufacturer specifications, emphasizing safety precautions, and conducting comprehensive inspections to prevent frequent wiring errors.


